When my husband and I were getting ready to move to Florida we had a huge auction to sell off a lot of our worldly possessions, but some things I just wanted to use. The Martha Stewart brand paint chip collection was one of those items that I really wanted to use.
I had blank cards with envelopes, so I tried to come up with a way to use the paint chips without having to do too much cutting. I wasn't going to cut out intricate shapes or anything - I wanted to pretty much just glue everything on.
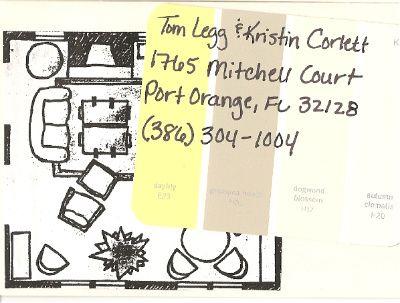
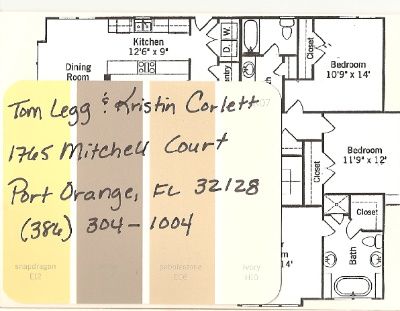
I found two little floor plans online that were just about the right size for the front of the card. I photocopied them and put double stick tape on the back. (so far this is really easy!) Then I wrote our new address on the paint chip and taped it over the top of the floorplan. I trimmed the edge of the chip if it hung over the edge. The top photo I had to trim, the one below I didn't.
I really liked this address. The place I was living at the time was just an awful street name. It was hard to say, hard to spell and ugh - I hated it. (Van Blarcom Beach Rd.) The new address was quick and easy - I even really liked the phone number. Such a nice number. We don't live there anymore, so please don't send anything to that address. Well I guess you can, but I won't get it.
I had several people call me up and ask if this was the floorplan for our new house. It wasn't :) but it had enough interesting detail around the edges of the paint chip, so that's why I used it.
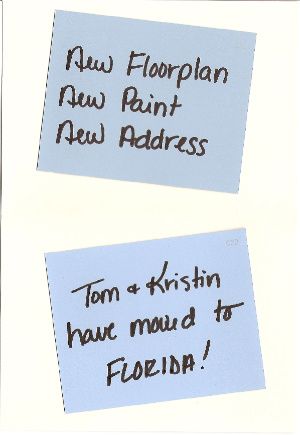
On the inside of the card I used two of the solid color paint chips, one on each side. Once again, I just used double stick tape to attach them to the card.
I used things that I already had in the house, so for the most part this project only cost me the stamps and the time. The cards & tape were purchased at some point, but I didn't pay for them at this moment to create this project. That makes it free, right??!
There are so many fun projects to make with paint chip samples. Look for some more examples in the future. I'll even give it it's own label :)
Enjoy!
Kristin


You are so creative and talented! I'm going to file this in my memory for later use.
ReplyDeleteBrilliant! Too bad I'm not moving. I have a bunch of paint chips and nothing to use them for.
ReplyDeleteWhat's up crafty?
ReplyDeleteWhat a great idea! I LOVE this!
ReplyDelete