
A long long time ago, over a year now, I approached my boyfriend, Steve, with the idea of painting his kitchen countertops. He agreed with full knowledge that if it turned out horrible, it would probably still be better than what he had! I blogged about that here. Thankfully he is a really good sport and he was on board real quick.
Once he got a look at those shiny black countertops I just knew I had him hooked into a full scale redo of his kitchen. The thing is though, that I am more talk than I am action a lot of the time.


My poor Steve lived with that wallpaper another 10 months, with the black enamel paint swooshed around the edges without a care in the world. My Mother came to Jacksonville in August of 2014 and I asked her if she would help us with the wallpaper removal. (My Mom likes to have a project and I like to use that to my advantage when I can) She chose instead to help me move out of my extremely cluttered and not yet packed rental condo instead. She was right - I needed every bit of her energy to get me moved out my condo -- so much so that I enlisted six other friends, plus Steve to help! That was indeed a giant job and I'm glad she convinced me that was the more urgent task.
By November I was determined that my slacking days were over and Steve and I deserved to put that gorgeous blue-green on the wall! It turns out that the wallpaper came off much easier than I would have ever imagined. We used a steamer and putty knives and for the most part, it peeled right off the mostly bare sheet rock. We were very fortunate indeed.
It was only a couple of days after the wallpaper all came down that the color portion of our project was finally put on the wall. We spent two evenings spackling and sanding, getting the walls as smooth as possible before putting on the paint. I'm sure glad we took so much care because the walls look fabulous!
Next up -- painting the cabinets. I painted a sample board with two different colors of Annie Sloan Chalk Paint - Old White and Old Ochre. The white was just too close to the white of the appliances and the pantry door and trim - it made the color just look dirty rather than complementary. The Old Ochre on the other hand was dark enough to to compliment all the white and blue-green, but also gave a decidedly beachy look to the whole kitchen. It just worked!
I'm not sure if you can see the difference in the photo below, but one side of the interior panel has been sealed with the Annie Sloan Clear Soft Wax and the other side is only the chalk paint. I could have gone for a polyurethane finish on the cabinet doors, but I love the look and feel of the wax finish, so we went that direction. To keep the cabinets from looking too fussy or shabby, I used only the clear wax and did not use a darker wax to distress the corners or darken the edges. That just wasn't the look we were going for. I do love, however, the way the clear wax darkens the paint color just a bit and highlights the grooves and ridges of the painted wood. I will have three coats of the wax on the cabinets when the kitchen is totally finished. The panel below has just one coat of wax.

In redoing the cabinets, I only needed the tools below. A little over 1/2 a quart of paint and a chip brush to paint all of the cabinets. I like the chip brush because it creates more texture on the surface of the door. That gives me more spaces for the wax to penetrate and more places for the light to give highlights and shadows, which ultimately gives more interest to the door. I used a small detail brush for small paint touch ups, too. Clear wax was my next product and I used a 1" chip brush to get the wax into the corner details on the door and a soft white cloth to distribute the wax on the rest of the door. I probably only used about 1/2 the can of wax, possibly less. The cabinets cost us right around $50 to repaint and finish. Cool, huh?!

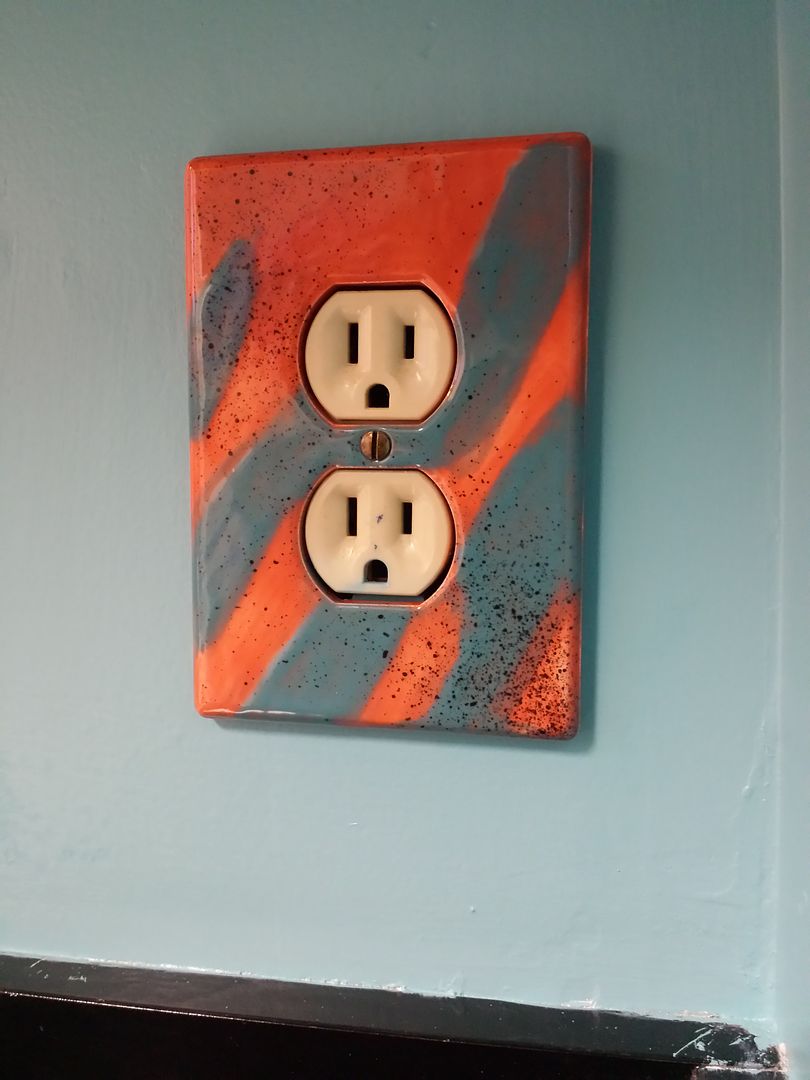
When I went to Michigan last year my niece Zora and I went to a paint your own pottery place. I made an outlet cover especially for the kitchen and it actually turned out great! Here it is installed...
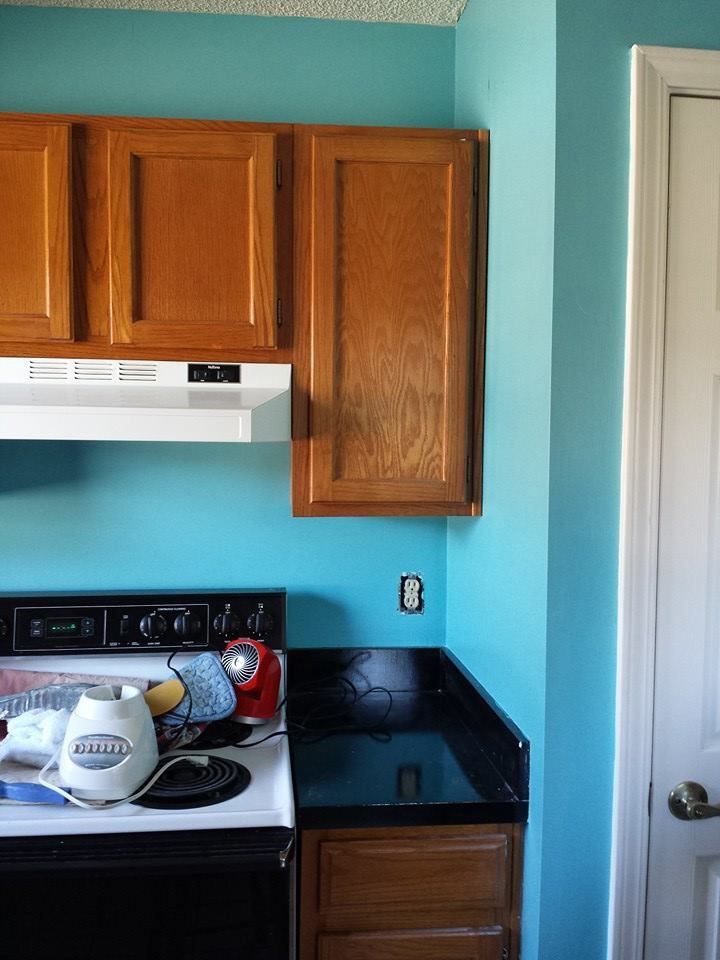
Soooo, when you put all of that together...
You get a kitchen that is completely transformed from 1980's wallpaper and wood to the 2015 beachy cool using dark colors and light cabinets and appliances. We think it really works.

We still need to get cabinet hardware, but since his kitchen never had them, we will need to investigate and find a style that fits the space available. I think that door pulls or handles will really feel like the jewelry in the space. We also are thinking about shades for the windows, but haven't been too eager to tackle that yet. There's a big window on the wall you can't see, on the left, so we need to make sure whatever we choose looks appropriate for both windows.

In this picture I excluded the fridge, so the kitchen doesn't look so cluttered! We have a ton of magnets, photos and information on the fridge and I couldn't even think about taking them all down for a picture. This is the best I could do!
In my eyes, the kitchen is done, done, done. I want to show it off and if I have to wait for us to decide on window treatments and door hardware, it could be another year!
So here it is -- our Before and After

Steve and I have gotten hundreds of likes on the pictures we've been showing on Facebook the past few days and we really appreciate all of the cheers and nods of approval. Thank you so much! I can't begin to tell you how much it means to have that positive vibe coming from the Universe!!
We love you all and the kitchen! Thanks for stopping by.
Hope you have a great day!
Kristin